How to Insulate a Chimney Liner
Last updated: November 16, 2026
Quick answer: How to insulate a chimney liner comes down to 2 standard methods—an insulation blanket or a pour-in fill of vermiculite or perlite—installed so the liner keeps heat in and condensation down. The right method depends on the flue size, chimney shape, and the liner’s clearances, so the job is less about one “best” product and more about matching the insulation to the chimney you have. For code and clearance context, see NFPA 211 and the EPA’s guide to chimney safety.
What does chimney liner insulation actually do?
Chimney liner insulation keeps flue gases hotter as they rise, which helps draft and leaves less moisture on the inside of the system. That matters in a stainless steel liner because cooler flue gas can condense, and condensation can lead to soot buildup, staining, and a shorter service life.
A liner without insulation can still move smoke, but it is more likely to lose heat into the surrounding masonry. In a tall or oversized chimney flue, that heat loss can be enough to make the draft sluggish during startup. Chimney liner sizing and stainless steel liner selection both matter because insulation changes how the system behaves, not just how it looks.
This is why insulation is not an optional decoration. It changes how the chimney works. A reader who wants better heat retention and less condensation is usually asking about insulation for those 2 reasons, not because the liner itself needs padding.
That said, insulation is not the answer to every problem. If the liner is the wrong size for the appliance, damaged, or badly installed, insulation will not fix that. It also is not the right move if a product or chimney setup specifically calls for a different installation method.
Which insulation works with a stainless steel liner?
The main choices are an insulation blanket or a pour-in insulation made with vermiculite or perlite, and each one fits a different chimney flue. An insulation blanket wraps tightly around the stainless steel liner, while pour-in insulation fills the space around the liner inside the chimney.
Here is the practical difference:
| Option | Where it fits best | Main benefit | Main drawback |
|---|---|---|---|
| Insulation blanket | Chimneys where the liner can be wrapped before lowering or during assembly | Even coverage around the liner | Can be harder to fit in a tight or offset flue |
| Pour-in insulation | Irregular or narrow flues where wrapping is awkward | Fills voids around bends and rough masonry | Less direct contact control than a wrapped liner |
| Vermiculite | As a loose fill with a pour-in method | Light, easy to place around the liner | Can settle if the space is poorly prepared |
| Perlite | As a loose fill with a pour-in method | Also suited to filling around the liner | Can be messy and may not suit every chimney shape |
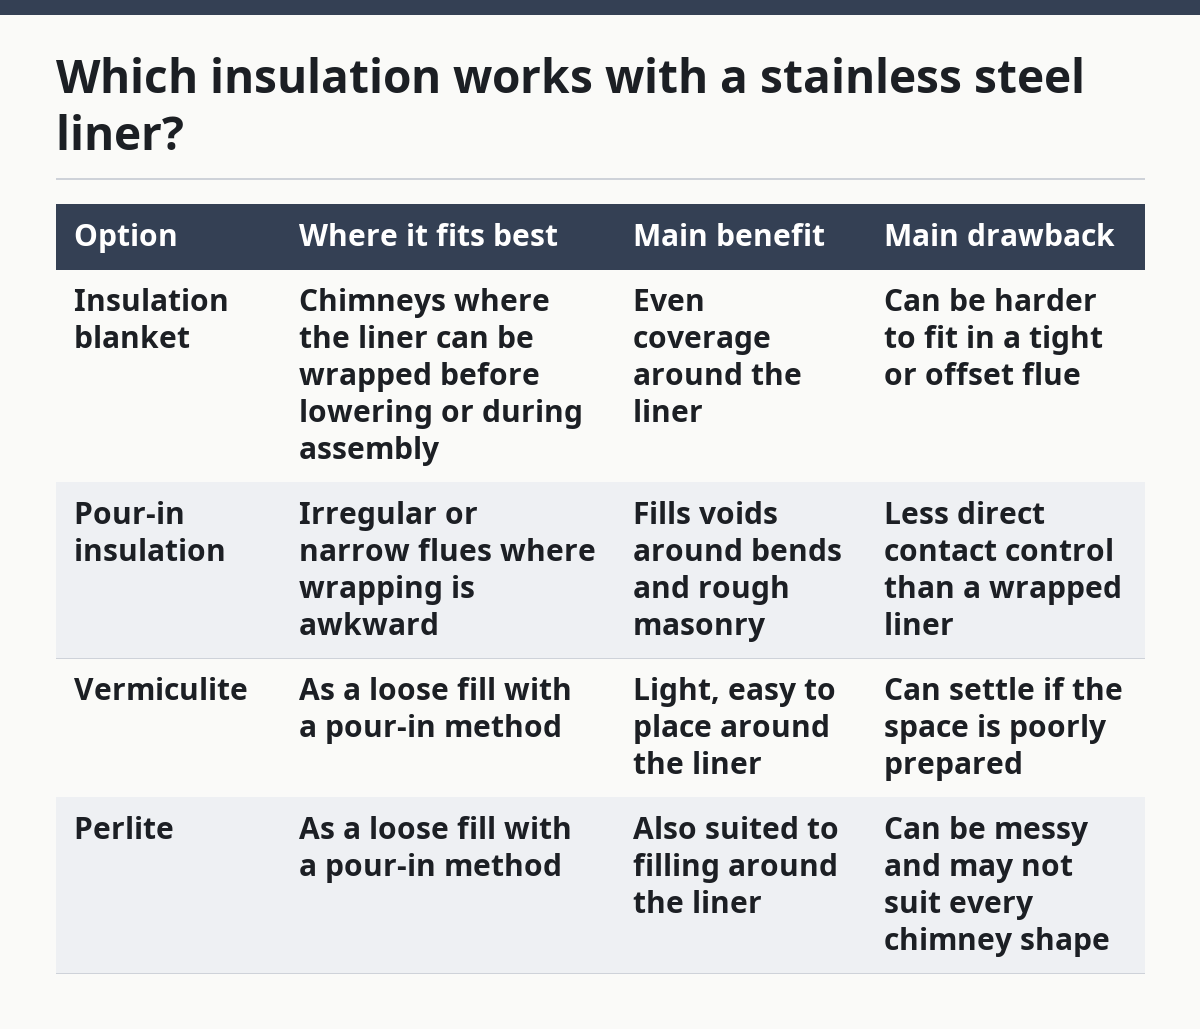
A blanket is usually the cleaner choice when the flue is reasonably straight and sized to accept the wrapped liner. Pour-in insulation makes more sense when the chimney flue has rough masonry, offsets, or shapes that leave awkward gaps. In both cases, the point is the same: keep the liner surrounded so it holds heat better and cools more slowly.
This page supports the main installation guide and chimney liner sizing guide, because insulation choice is tied to liner fit, not separate from it.
How do I insulate a chimney liner?
You insulate a chimney liner by preparing the flue, fitting the insulation to the liner, and lowering or filling it so the insulation stays continuous from top to bottom. The core tools are a stainless steel liner, an insulation blanket or pour-in material, a tape or fastening system made for the liner, and the manufacturer’s instructions.
-
Measure the flue with a tape measure so the liner and insulation fit the chimney without forcing.
A tight fit can damage the wrap, while too much space can leave gaps that reduce heat retention. -
Clean the chimney flue with a chimney brush so loose soot and debris do not block the insulation or fall into the liner path.
A cleaner flue gives the insulation a better surface to sit against and reduces mess during installation. -
Wrap the stainless steel liner with an insulation blanket when the chimney shape allows a wrapped install.
The goal is a snug, even layer around the liner so the wrap does not bunch up or leave bare spots. -
Secure the blanket with the liner’s fastening method so it stays in place while the liner is lowered; if you are unsure, consult a qualified chimney professional and the liner manufacturer’s instructions before you proceed.
A loose wrap can tear, shift, or sag, which creates thin spots that work against the whole job. For an example of manufacturer guidance, see Selkirk’s chimney system documentation. -
Lower the insulated liner into the chimney flue slowly so the insulation stays intact and does not scrape off at bends or rough masonry.
A smooth descent helps preserve the blanket or keeps the pour-in method from bridging in one area. -
Fill remaining space with vermiculite or perlite if the system is designed for a pour-in approach.
The fill should surround the liner evenly, not sit in one lump at the top or bottom. -
Check the top and bottom connections so the liner remains centered and the insulation does not block the appliance connection or top termination.
A centered liner helps the flue draft more predictably and reduces cold spots.
That is the basic process. The exact order can change with the chimney shape, but the job still comes back to the same result: a liner insulated evenly enough to keep heat in and condensation down.
When should I use insulation blanket instead of pour-in fill?
You should use an insulation blanket when the chimney allows a wrapped liner, and use pour-in insulation when the flue shape makes wrapping awkward or impractical. The better choice depends on access, bends, and how much room exists around the liner.
A blanket is usually the simpler method in a straighter chimney because it gives the liner a consistent layer all the way around. It is also easier to understand visually: one liner, one wrap, one continuous shell. That can make inspection simpler later, especially if the installer wants a clearly defined layer around the stainless steel liner.
Pour-in insulation fits better when the chimney flue is irregular. A masonry chimney with uneven internal surfaces can leave pockets that a blanket will not contact well. Vermiculite and perlite can flow into those voids and help fill the space more completely.
The trade-off is that pour-in insulation depends on the cavity being prepared well. If the fill bridges over a gap or settles unevenly, the liner may end up with warm spots and cold spots. A blanket can also be harder to install in a tight flue, which means the wrong choice can create as many problems as it solves.
What problems does bad insulation cause?
Bad insulation costs heat, draft quality, and sometimes the life of the liner itself. The most common failure is simple: the liner is insulated in only part of the flue, so the top section stays warmer than the lower section or the sides stay cold and wet.
That can lead to condensation control problems. Moisture can collect inside the liner when flue gas cools too fast, and that moisture can mix with soot. The result is a dirtier liner and a chimney that is harder to keep in good shape.
Another common mistake is using insulation that does not fit the chimney space. Too little material leaves gaps, while too much can make the liner hard to center or force the wrap to compress unevenly. Either way, the insulation stops doing its main job.
A bad insulation job can also show up at the appliance connection. If the lower end is crowded or misaligned, the liner may not sit where the appliance needs it to sit. That is why insulation and sizing belong in the same conversation, not as separate jobs.
For a local service business, this is also the point where a homeowner should stop and ask for a professional quote. If the chimney is tall, offset, or tied to an appliance with specific connector needs, the risk is not just mess. It is a liner that looks finished but works poorly.
What should I ask before paying someone to do it?
You should ask what insulation method they plan to use, what material they will put around the stainless steel liner, and how they handle the chimney flue size. A good answer should be specific about insulation blanket, vermiculite, or perlite, not vague language like “we insulate it.”
Ask whether the job includes a wrapped liner or a pour-in insulation approach. Those are different methods, and the price should reflect the method, the flue shape, and the amount of labor needed. If the chimney has bends, offsets, or a narrow opening, the work may take longer than a straight run.
It also helps to ask what the finished liner should look like at the top and bottom. You want to know whether the liner will stay centered, how the termination will be handled, and what signs would tell you the insulation was placed badly. A poor job often shows up as uneven fit, visible gaps, or a liner that seems strained at one end.
A contractor should be able to explain the trade-off between better heat retention and the extra work needed to install the insulation correctly. If the explanation is all sales language and no detail, that is a bad sign. For broader system planning, see the chimney liner FAQ and how to choose a chimney liner.
What should I check after the liner is insulated?
You should check that the liner is centered, fully covered, and not pinched at the top or bottom. The insulation should look continuous, not bunched up in one section or missing along one side of the chimney flue.
Look for signs that the liner was forced through a space it did not fit. Scraped insulation, compressed wrap, and awkward bends can all point to a liner that was pushed in too hard. That may still “fit,” but it often performs worse than a cleaner install.
If the job used pour-in insulation, the fill should appear even and settled, not obviously higher on one side. If the job used a blanket, the wrap should stay tight against the liner with no large gaps. A tidy-looking installation does not prove it was done right, but a sloppy one is a warning sign.
The real test is how the system behaves once in use. Better draft, less condensation, and steadier operation are the results insulation is supposed to support. If those are missing, the problem may be the insulation, the liner size, or the chimney itself.
Key takeaways
- A chimney liner is insulated to hold heat in the flue and cut down on condensation.
- The 2 main methods are an insulation blanket and pour-in insulation made with vermiculite or perlite.
- Blanket insulation suits straighter chimneys; pour-in material suits irregular flues and awkward gaps.
- The wrong insulation job can leave cold spots, poor draft, and moisture inside the liner.
- Ask clear questions about the method, the material, and the final fit before you hire anyone.
FAQ
Do chimney liners need insulation?
Not always, but many installations work better with it. Insulation helps a stainless steel liner stay hotter, which supports draft and reduces condensation in the chimney flue. Some setups call for it more than others, especially where the flue is oversized or the chimney is exposed to cold air.
What insulation is used for chimney liners?
The usual choices are an insulation blanket or a pour-in fill made from vermiculite or perlite. The right option depends on the chimney shape and how much room is around the liner. A wrapped liner is common when the flue allows it, while pour-in material is useful where the chimney is irregular.
Can I insulate a liner myself?
You can, but only if the chimney is straightforward and you can follow the liner manufacturer’s instructions closely. A poor fit can hurt draft, leave gaps, or create condensation problems, so this is not a good job for guesswork. If the flue is offset or tight, a professional is usually the safer choice.
How do I know if the liner is insulated well?
You should see a centered liner, even coverage, and no obvious pinching at the top or bottom. The system should also run with steadier draft and less visible condensation than before. If the fit looks uneven, the insulation may not be doing its job.
Which is better, blanket or pour-in insulation?
Neither one is always better. A blanket often works best in a straighter flue, while pour-in insulation usually fits better in an irregular chimney. The right choice depends on the flue shape, the access available, and the liner manufacturer’s instructions.
Drafted with AI; not yet reviewed by a person.

Related Posts
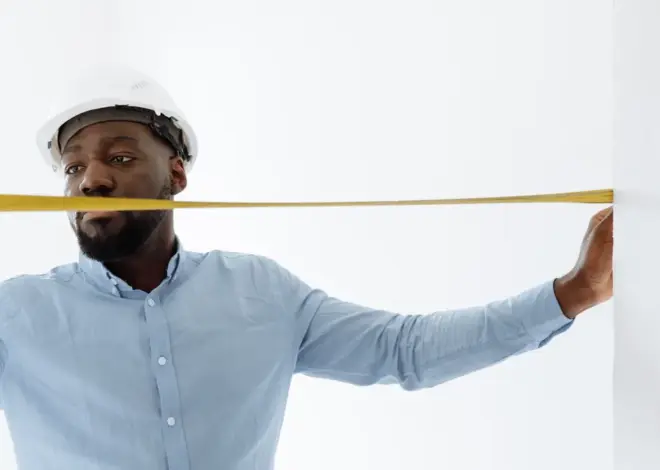
How to Measure a Chimney for a Liner
How to Connect a Chimney Liner to a Stove or Insert
One thought on “How to Insulate a Chimney Liner”